Heat Pump Installation UK: A Step-by-Step Guide for Homeowners
September 4, 2026•admin•9 min read
Most UK homeowners are surprised to learn that a heat pump installation is faster and less disruptive than they feared — yet getting the process wrong is the single biggest reason heat pumps underperform. A correctly specified, well-installed system will run quietly and efficiently for 15–20 years; a rushed job can cost you thousands in wasted energy and repairs. This guide walks through every stage — from your first conversation with an installer to the moment you turn the heating on — so you go in with eyes open.
Key Takeaways
Air source heat pump installation takes 2–3 days for a typical 3-bedroom UK home; ground source takes 5–10 days due to groundwork.
A heat loss survey is legally required under MCS standards before any BUS-grant-eligible installation — never skip it.
Only MCS-certified installers can claim the £7,500 Boiler Upgrade Scheme grant on your behalf — always verify at mcscertified.com.
The BUS voucher must be approved before work starts — retrospective applications are not accepted.
Heat pumps run best at continuous low flow temperatures (45–55°C) — not switched on and off like a boiler.
Expect less than 24 hours without heating and hot water during a typical air source installation.
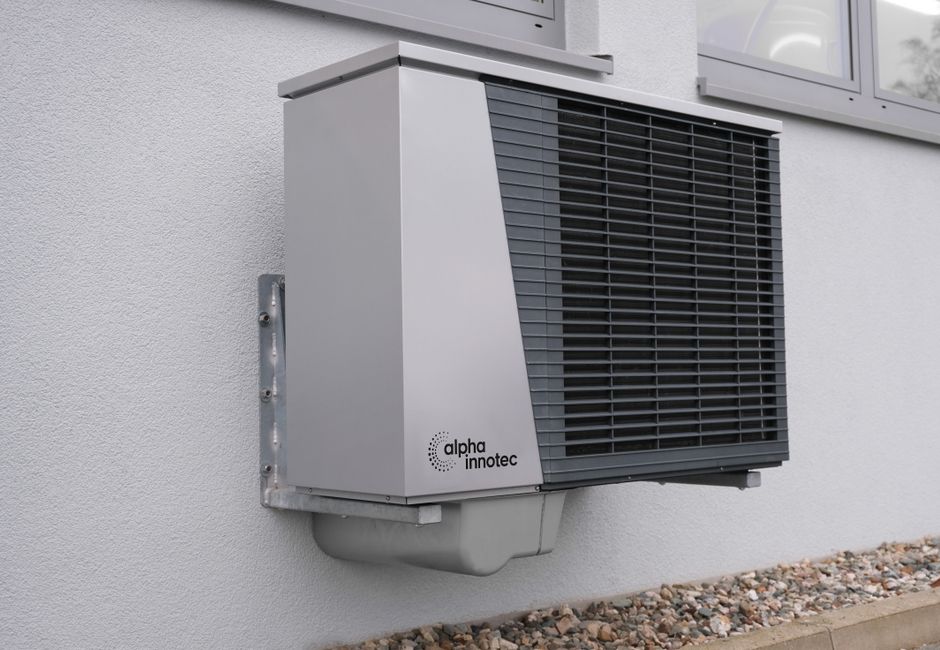
Photo: alpha innotec / Pexels
Before installation: the heat loss survey
A heat loss survey is non-negotiable — and by MCS standards it’s legally required before any BUS-grant-eligible installation. An engineer visits your home and calculates, room by room, how much heat your property loses at the design temperature (typically –3°C for most of England, –7°C for the Scottish Highlands). This figure determines the size of heat pump you need.
Getting this step right is the single most important factor in a successful installation. An undersized pump won’t keep your home warm on cold days. An oversized one will short-cycle (switching on and off repeatedly), reducing efficiency and shortening the unit’s life. Be wary of any installer who quotes without a survey visit — this is a red flag that the system design will be guesswork. A proper BS EN 12831 heat loss calculation typically takes 1–2 hours on site.
The survey also assesses your current radiators. Since heat pumps operate at lower flow temperatures (typically 45–55°C vs a gas boiler’s 70–80°C), existing radiators may be too small to deliver adequate heat at those lower temperatures. A good engineer will calculate whether radiators need upgrading in each room — and which rooms can keep existing ones — which directly affects your quote and avoids surprises mid-installation.
How to Choose an MCS-Certified Heat Pump Installer
MCS (Microgeneration Certification Scheme) certification is the key quality standard for heat pump installers in the UK. Only MCS-certified installers can apply for the BUS grant, and only work done by MCS-certified installers qualifies the homeowner for any future grant or scheme that requires certification. Always verify certification at mcscertified.com before signing anything — entering a postcode brings up all certified installers within a chosen radius.
When getting quotes, aim for at least three from different companies. Compare the heat pump brand and model specified (and whether it’s sized to the survey results), whether the BUS grant is deducted and who handles the application, warranty terms on the unit and installation workmanship, what’s included for radiator upgrades, hot water cylinder, and electrical work, and whether commissioning and MCS certificate are included.
Be aware that the cheapest quote is rarely the best value. A reliable rule of thumb: if an installer is quoting significantly below the others and cannot clearly explain what they’ve left out, that’s a warning sign. The Which? guide to finding a heat pump installer has useful tips on spotting red flags in quotes and contracts.
BUS Grant Paperwork: What Happens Before Work Starts
If you’re claiming the Boiler Upgrade Scheme grant, your installer must submit an application to Ofgem and receive a voucher approval before installation begins. Work carried out before voucher approval does not qualify. The application process is handled entirely by the installer and typically takes a few working days. Make sure you have a valid EPC (Energy Performance Certificate) for your property, no outstanding loft or cavity wall insulation recommendations on that EPC, and have agreed the contract and scope with your installer before they submit.
Once the voucher is approved, installation can be scheduled. Vouchers are valid for three months, so there’s reasonable flexibility on timing. Your installer should give you a copy of the approval notification — keep this as it forms part of your installation paperwork. If your EPC has insulation recommendations you haven’t acted on, you’ll need to complete that work first; many homeowners use this as an opportunity to improve loft and cavity wall insulation before the heat pump goes in, which also improves system efficiency.
Photo: Markus Spiske / Pexels
The Heat Pump Installation Process: Day by Day
Here’s what a typical 2–3 day air source heat pump installation looks like for a 3-bedroom semi-detached home:
Day 1: preparation and outdoor unit
Remove old boiler (usually takes 1–2 hours)
Install outdoor unit on wall bracket or plinth — positioned for airflow and noise impact
Run refrigerant pipework from outdoor unit to indoor location
Begin plumbing work for indoor components
Day 2: indoor installation
Install hot water cylinder (if new or replacement required)
Connect heat pump to existing pipework and radiators
Replace or upgrade radiators where required
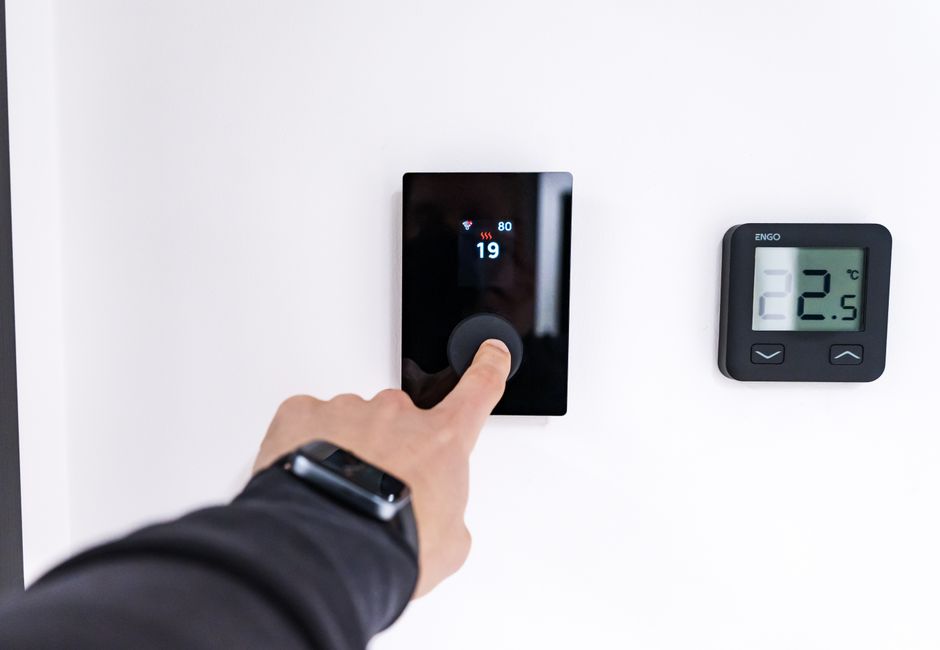
Install controls and thermostat
Electrical work: new circuit from consumer unit
Day 3: commissioning
Charge refrigerant circuit
System pressure test
Full system run-up and performance checks
Installer walks you through controls and optimal settings
MCS commissioning certificate issued
You’ll be without heating and hot water during parts of the install, but most installers schedule the work to minimise the cold period — often keeping a temporary supply running until day 3. If you’re having the work done in winter, it’s worth asking your installer specifically how they’ll manage this.
What Disruption to Expect During Installation
Heat pump installation is less disruptive than a full central heating installation but more involved than a boiler swap. Expect engineers in and out of most rooms if radiators are being checked or replaced, some drilling through external walls for refrigerant lines, possible disruption to the airing cupboard or utility room space for the cylinder, a brief loss of heating and hot water (usually less than 24 hours total), and outdoor noise during fan testing on commissioning day.
Groundwork for a ground source system is considerably more disruptive — horizontal loop installation involves excavating large sections of garden, which typically takes 1–3 days of heavy machinery work on top of the indoor installation time. For borehole systems, a specialist drilling rig will be on your driveway or garden for 1–2 days, accessing depths of 50–150 metres. Plan for significant outdoor disruption and factor reinstatement of garden or driveway surfaces into your quote.
After Installation: Getting the Most from Your Heat Pump
Heat pumps work best when run continuously at a lower temperature rather than being switched on and off like a boiler. The most common mistake new heat pump owners make is setting high flow temperatures or using aggressive schedules — both of which reduce efficiency significantly. Your installer should set the system up for low-temperature operation and show you how the controls work before they leave.
Key settings to understand: aim for a flow temperature of 45–50°C with adequately sized radiators (lower if possible); ensure weather compensation is enabled so the system adjusts output based on outdoor temperature automatically; and schedule hot water heating once or twice a day rather than continuous reheat, which is significantly more efficient.